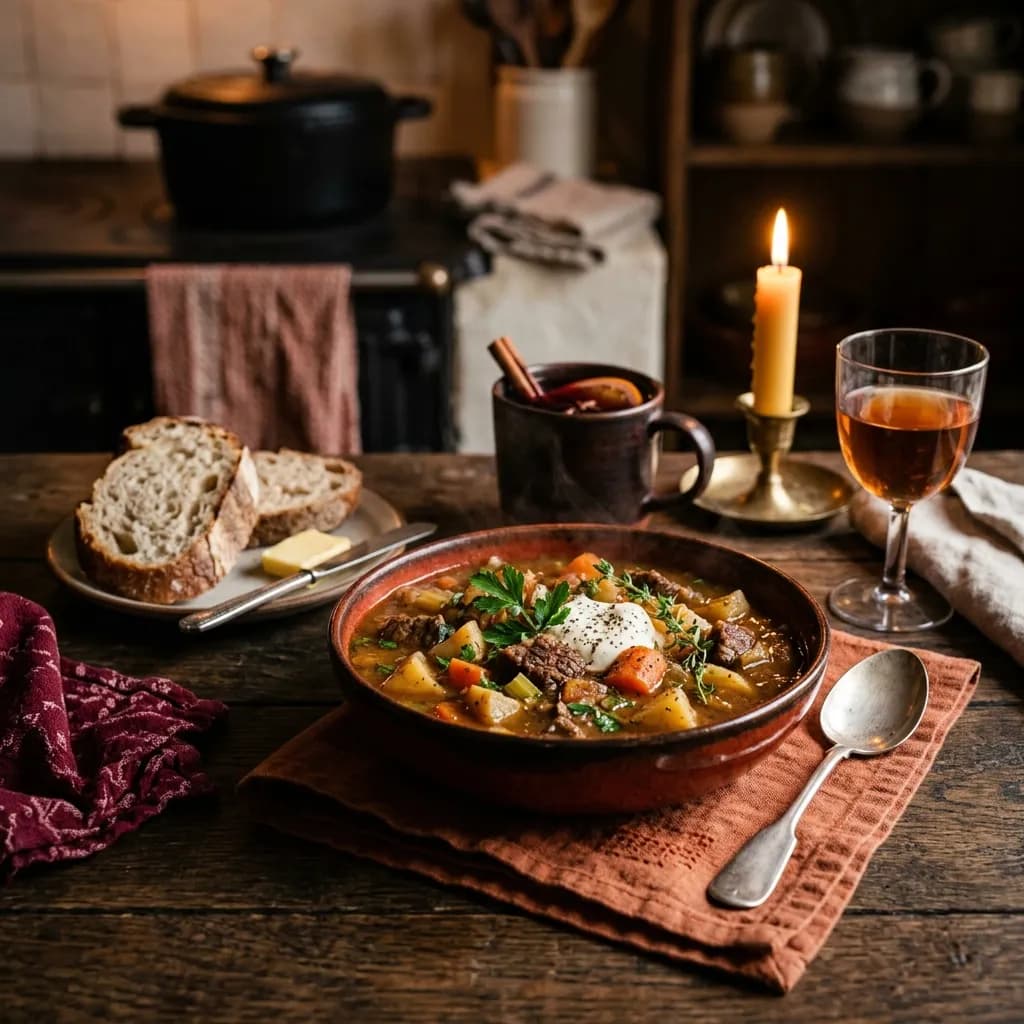
Homemade Bone Broth
This healthy Homemade Bone Broth recipe is a clean eating meal option rich in nutrients. Optimized for Gut Health, Keto, Gluten-Free, Dairy-Free, Bone Broth and created by certified nutritionist Stewart Lucas, it is designed to fit seamlessly into a health-focused lifestyle.
Key Takeaways
- ✓Ready in just 720 mins using straightforward, kitchen-tested technique.
- ✓Delivers 9g of muscle-fueling protein per serving for lasting satiety.
- ✓Portion-balanced at 40 calories per serving with wholesome, unrefined ingredients.
- ✓Masterclass temperature checkpoints ensure maximum tenderness and flavor development.
The Story
This healthy Homemade Bone Broth recipe is a clean eating meal option rich in nutrients. Optimized for Gut Health, Keto, Gluten-Free, Dairy-Free, Bone Broth and created by certified nutritionist Stewart Lucas, it is designed to fit seamlessly into a health-focused lifestyle.
Quick Summary
Homemade bone broth is more than just a liquid; it is the fundamental building block of a nutrient-dense kitchen. By gently simmering roasted bones with aromatics, you extract collagen, amino acids, and essential minerals into a golden, deeply flavorful tonic. Whether sipped warm from a mug or used as the base for a rustic soup, it provides the kind of gut-healing nourishment that simply cannot be replicated by store-bought boxed alternatives.
The Art of the Slow Simmer
There is something meditative about the process of making bone broth. It begins in the oven—the dry heat crisping up the bones, releasing that unmistakable, savory perfume of roasting marrow. When you finally add that bubbling liquid to your stockpot, the kitchen transforms into a space of quiet productivity. This isn't a "fast" recipe, but that is exactly why it works. The time spent on the stove allows the proteins to break down, the minerals to leach out, and the flavors to deepen into something complex and rounded.
I often tell my coaching clients that bone broth is the ultimate "reset" button for the body. When you take the time to build a stock from scratch, you aren't just prepping food; you're cultivating a deeper connection to your meals. You become an active participant in your wellness, choosing exactly what goes into your pot and, by extension, into your body.
Ingredients You'll Need
- 3 lbs high-quality beef or chicken bones (knuckle and joint bones are best for gelatin)
- 2 large carrots, roughly chopped
- 2 stalks celery, including the leafy tops
- 1 large yellow onion, skin-on for extra color
- 2 tbsp apple cider vinegar (this is essential for mineral extraction)
- 1 whole head of garlic, sliced in half horizontally
- 1 tsp whole black peppercorns
- 2 large dried bay leaves
Step-by-Step Method
- The Roast: Preheat your oven to 400°F (200°C). Arrange your bones on a heavy-duty baking sheet. Roast them for 30 to 45 minutes until they turn a deep, mahogany brown. Don't be afraid of a little char—that's where the soul of the broth lives.
- The Setup: Transfer the roasted bones and all those flavorful browned bits from the baking sheet into a large, heavy-bottomed stockpot. Cover the bones with cold, filtered water by at least two inches.
- The Acid & Aromatics: Add the apple cider vinegar to the pot. Let it sit for 10 minutes—the acidity helps break down the connective tissue. Then, add your vegetables, garlic, peppercorns, and bay leaves.
- The Gentle Simmer: Bring the pot to a very gentle boil, then immediately turn the heat down to the lowest setting. You want a "whisper" of a simmer—just an occasional, lazy bubble surfacing to the top. Keep the lid slightly ajar.
- The Long Wait: For chicken, 12 hours is sufficient. For beef, I prefer 18 to 24 hours. The goal is to extract as much collagen as possible.
- The Finish: Turn off the heat and let the pot cool for 30 minutes. Strain everything through a fine-mesh sieve into a large bowl or storage container. Discard the solids—they’ve given everything they have to give.
Nutritional Science & Benefits
Bone broth is uniquely rich in nutrients that support systemic health:
- Collagen & Gelatin: Essential for skin elasticity, joint health, and structural integrity of the gut lining.
- Amino Acids: Specifically glycine and proline, which help reduce inflammation and support digestive comfort.
- Minerals: Provides magnesium, phosphorus, and calcium in a highly bioavailable form, easy for the body to absorb.
Stewart's Culinary Coaching Tips
If you want a truly gelatinous broth that "jiggles" in the fridge, focus on the ratio of bones to water. Too much water will result in a thin, watery stock. You want the bones to be just barely submerged. Also, save your vegetable scraps—onion ends, carrot peels, and mushroom stems—in a bag in the freezer. When you're ready to make broth, dump the frozen bag into the pot. It’s an effortless way to reduce food waste and deepen the flavor profile.
Flavor Variations
Once you master the base, try tweaking the aromatics to suit your mood:
The Asian Influence
Add a 2-inch piece of smashed ginger, a star anise, and a stick of cinnamon during the final 3 hours of simmering for a deeper, more aromatic profile.
The Earthy Forest
Throw in a handful of dried shiitake mushrooms to boost the umami content and introduce a subtle depth of flavor.
The Garden Fresh
Add a handful of fresh parsley stems and a sprig of thyme during the final hour of cooking for a brighter, lighter finish.
Meal Prep & Storage Guide
Bone broth is an absolute champion of meal prep. Once you strain it, let it cool completely to room temperature before putting it in the fridge. As it chills, a layer of solidified fat will form on the surface. You can leave this on to protect the broth from oxidation if you plan on using it soon, or scrape it off for a leaner final product. It lasts 5–7 days in the refrigerator. For longer storage, freeze it in silicone muffin trays or ice cube trays. Once frozen, pop the cubes into a freezer bag. This allows you to grab exactly as much as you need for a quick pan-sauce or a single mug of broth.
A Note on Skimming
You may notice some greyish foam or impurities rising to the top during the first hour of simmering. This is perfectly natural. Using a spoon or a small mesh skimmer, remove this foam to ensure your finished broth is clear rather than cloudy. It’s a small extra step, but it makes for a much cleaner, more refined mouthfeel.
Homemade Bone Broth
This healthy Homemade Bone Broth recipe is a clean eating meal option rich in nutrients. Optimized for Gut Health, Keto, Gluten-Free, Dairy-Free, Bone Broth and created by certified nutritionist Stewart Lucas, it is designed to fit seamlessly into a health-focused lifestyle.
Macro Nutrition Profile (Per Serving)
Ingredients
Ingredient Substitutions
| Original Ingredient | Healthy Alternative |
|---|---|
| Animal protein | Firm tofu, tempeh, or organic chickpeas |
| Cooking fat | Extra virgin olive oil or grass-fed butter |
Instructions
The Roast: Preheat your oven to 400°F (200°C). Arrange your bones on a heavy-duty baking sheet. Roast them for 30 to 45 minutes until they turn a deep, mahogany brown. Don't be afraid of a little char—that's where the soul of the broth lives.
The Setup: Transfer the roasted bones and all those flavorful browned bits from the baking sheet into a large, heavy-bottomed stockpot. Cover the bones with cold, filtered water by at least two inches.
The Acid & Aromatics: Add the apple cider vinegar to the pot. Let it sit for 10 minutes—the acidity helps break down the connective tissue. Then, add your vegetables, garlic, peppercorns, and bay leaves.
The Gentle Simmer: Bring the pot to a very gentle boil, then immediately turn the heat down to the lowest setting. You want a "whisper" of a simmer—just an occasional, lazy bubble surfacing to the top. Keep the lid slightly ajar.
The Long Wait: For chicken, 12 hours is sufficient. For beef, I prefer 18 to 24 hours. The goal is to extract as much collagen as possible.
The Finish: Turn off the heat and let the pot cool for 30 minutes. Strain everything through a fine-mesh sieve into a large bowl or storage container. Discard the solids—they’ve given everything they have to give.
Tried this recipe?
Let us know how it turned out! Click a star below to leave a review and rate the recipe.
Storage & Freezing Tips
- Refrigerator: Store leftovers in an airtight container for up to 3-4 days.
- Reheating: Heat in a saucepan or skillet on medium heat until hot throughout.
- Freezing: Freeze portions in airtight containers for up to 2 months. Reheat directly from frozen or after thawing.
Frequently Asked Questions
Can I use a slow cooker for this recipe?▼
Absolutely. In fact, a slow cooker is often better for a 24-hour simmer. Use the 'Low' setting, and keep an eye on the water level to ensure the bones remain covered.
Why is my broth cloudy?▼
Cloudiness is usually caused by the fat emulsifying with the water. If you skim the foam during the first hour of cooking and keep the heat to a very gentle simmer (rather than a rolling boil), you will achieve a much clearer broth.
Can I make this if I'm on an AIP or specific diet?▼
Bone broth is generally considered a cornerstone of the Autoimmune Protocol (AIP) due to its gut-healing properties. Just ensure you are using high-quality, pastured, or grass-fed bones to avoid inflammatory additives.
How do I reheat the broth without ruining it?▼
Always reheat your broth gently on the stovetop. Never microwave it on high, as rapid heat can destroy some of the delicate proteins and minerals you've worked so hard to extract.
Tried this recipe?
Tag @stewartlucas on Instagram and hashtag it #nutriguide!
You Might Also Like

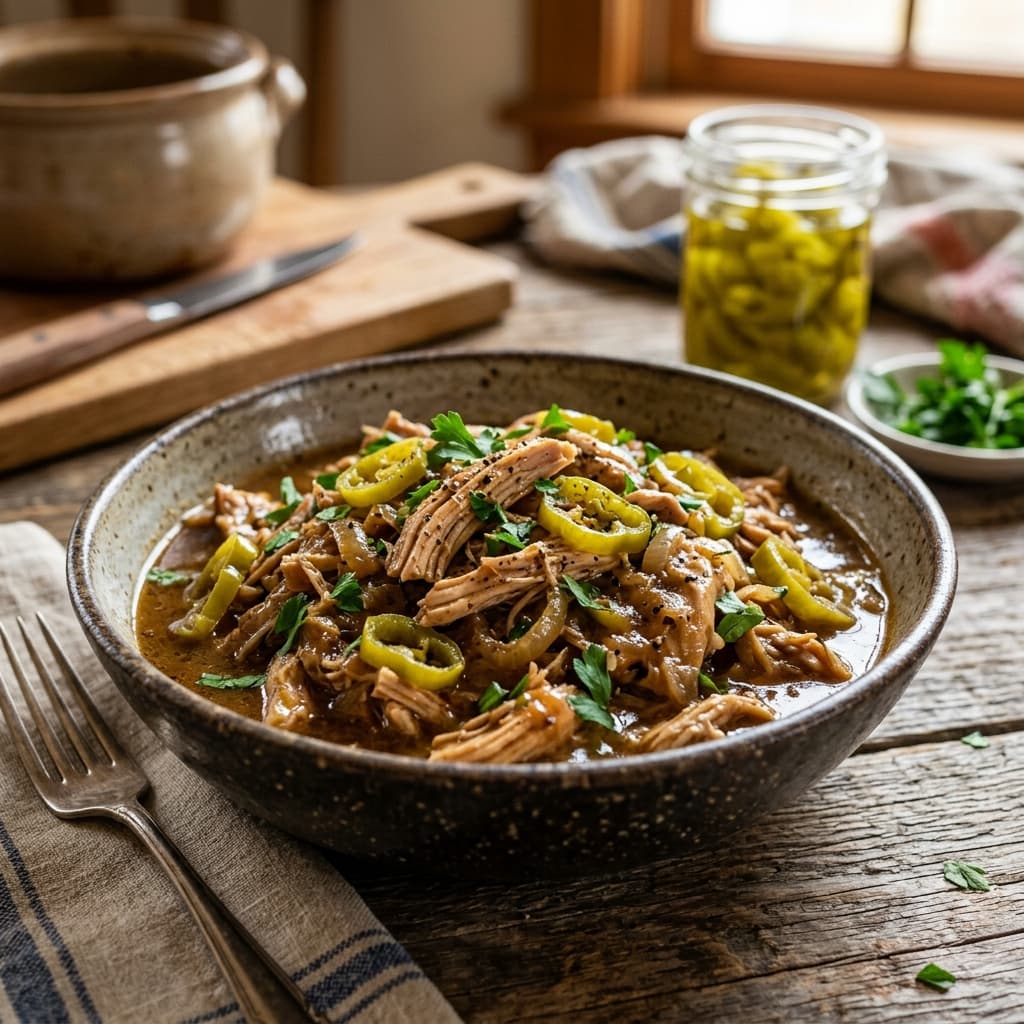
Slow Cooker Mississippi Chicken (Zesty Pepperoncini & Butter Braise Masterclass)

Stewart Lucas
Nutritionist & Recipe DeveloperStewart Lucas is a nutritionist and recipe developer representing the NutriGuide team. All recipes, nutritional values, and diet protocols published on this site are designed and audited by certified dietitians and clinical nutrition professionals to guarantee absolute accuracy.
Community Reviews
Please log in to leave a review.